MOVEMENT GALLERY
|
|
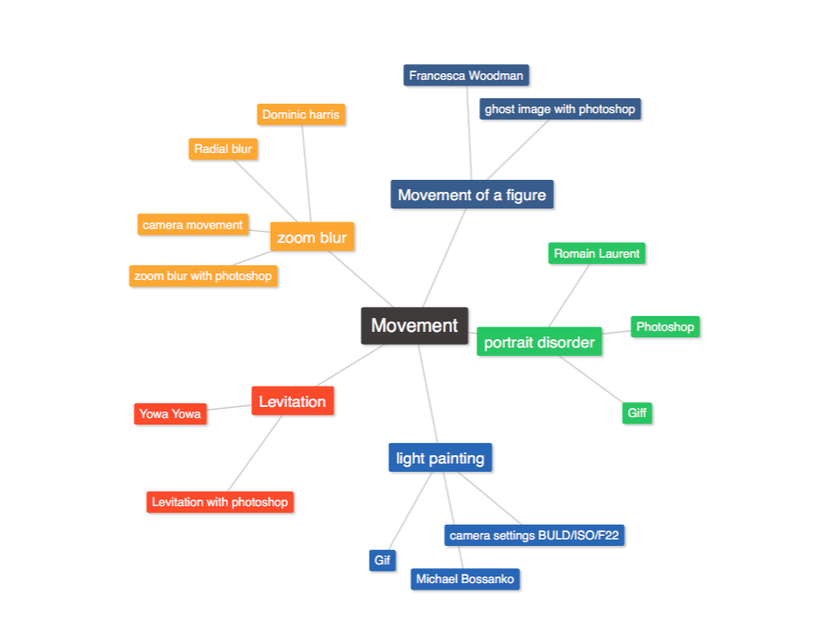
my movement mind map
YOWA YOWA LEVITATION
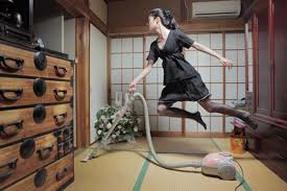
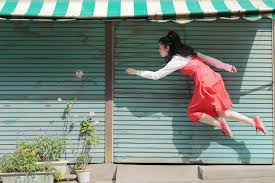
Yowa Yowa, also known as Natsumi Hayshi,is a Japanese hotographer. She mainly creates images of her levitating [self portraits].Her two cats that she lives with are sometimes included in her photos. Yowa Yowa uses a self timer and a tripod to capture herself levitating. She uses backgrounds that you would see in every day life to make her photos seem more normal, which contrasts with the fact that she is levitating.
In the second image she is hovering over a closed shop.I think image is very good because of the colour contrast,the colour tones all match which looks ver aesthetically leasing for the person viewing the image, this lends a sense of relaxation and lightness. Because she is towards the right of the frame it catches your attention as the rest of the image is quite empty and there are only a few other things that stand out for example the blue awning and maybe even the plants. Yowa levitating next to these plants with her out stretched arms makes the image seem surreal but fascinating and would draw lots of attention when it comes to the audience.
In the second image she is hovering over a closed shop.I think image is very good because of the colour contrast,the colour tones all match which looks ver aesthetically leasing for the person viewing the image, this lends a sense of relaxation and lightness. Because she is towards the right of the frame it catches your attention as the rest of the image is quite empty and there are only a few other things that stand out for example the blue awning and maybe even the plants. Yowa levitating next to these plants with her out stretched arms makes the image seem surreal but fascinating and would draw lots of attention when it comes to the audience.
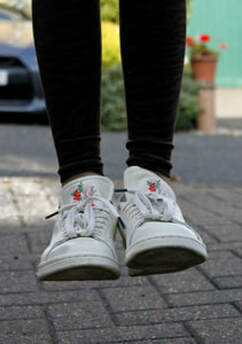
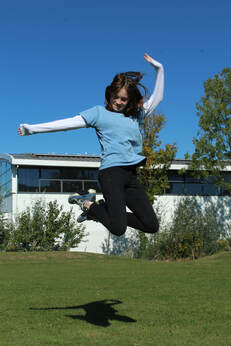
Initial Response
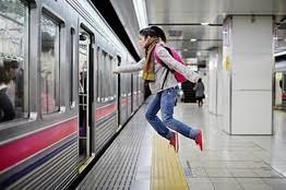
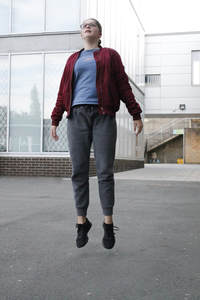
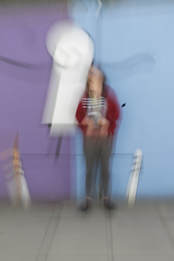
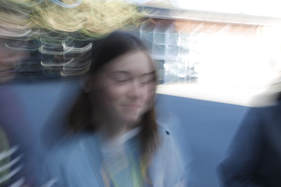
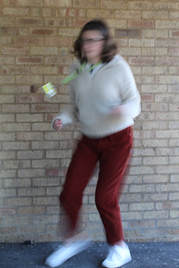
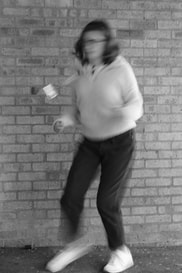
In this task I was required to capture an image of my model mid jump, to make the photo look like she is levitating.
|
|
|
Second Response
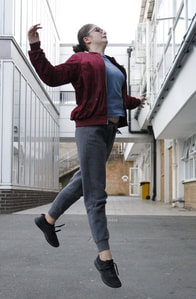
I took this image using a tripod and experimented with photoshop to make it seem more realistic and like she is floating!
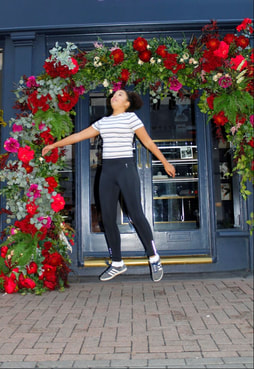
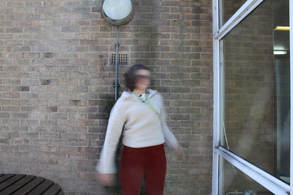
For this image i went to central London and took some photographs outside a decorative shop!
|
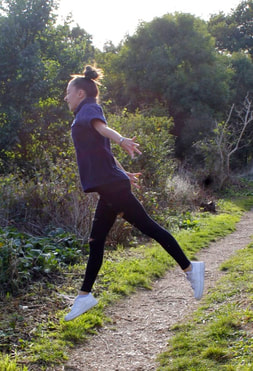
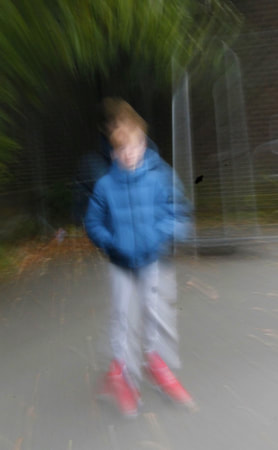
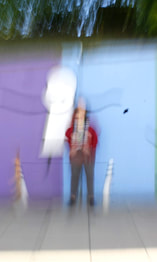
For this image i went to a woods/ woodland area to capture a realistic levitation shot!
|

This is my favourite photograph of my levitation images because it looks very realistic and i love the colour contrast!
|
www: I took good levitation shots that look realistic and i really like the colours used in the photos.
EBI: I took the images from different angles so that they looked like the people were really levitating high above the ground.
EBI: I took the images from different angles so that they looked like the people were really levitating high above the ground.
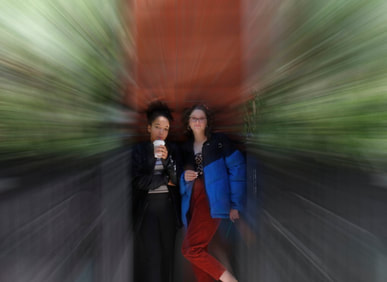
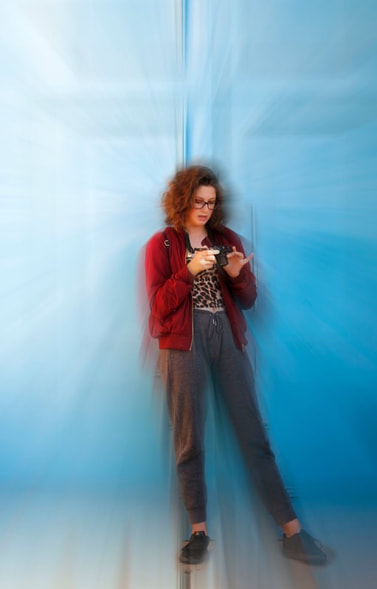
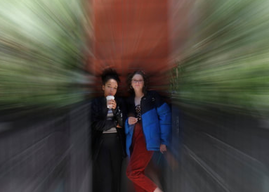
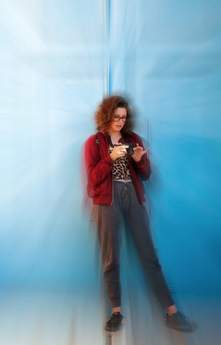
ZOOM BLUR
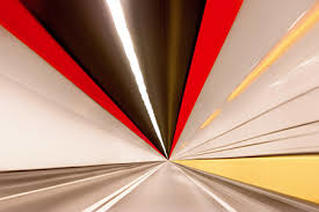
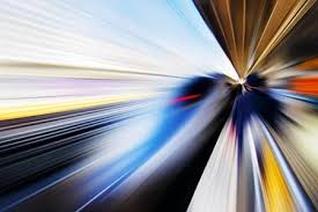
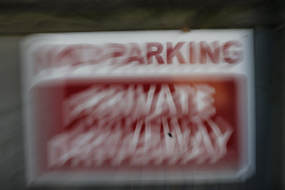
These images are called zoom blur photographs which are taken by turning the lens as you take a picture and it gives you a slightly blurred effect. There is another way you could take this kind of picture without activating the zoom feature on your lens. All you would have to do is move your camera forward and backward and a steady speed as you are pressing down to take the photograph, this should also give you a successful zoom blur photo. However to take these images both you and espicially your model have to stay very still or you wont get the full effect and your picture wont look very good.
Dominic Harris
|
|
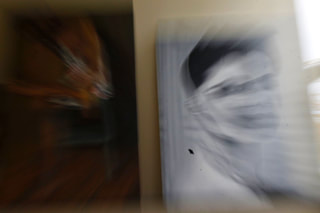
These photographs are inspired by a photographer called Dominic Harris who is our link artist. These two photographs are taken by him!
Initial Response
This task links to the theme zoom blur as it shows photographs which are slightly blurred, just like Dominic harris has done.
Second Response
I had a second go at taking blurred pictures using the zoom blur technique, I used ISO which you use to help adjust the light depending on the location. Above are a few images I took using different ISO.
|
|

|
Zoom blur with photoshop
Here are some images that i have developed using photoshop.
|
|
|
|
here is how I did it!
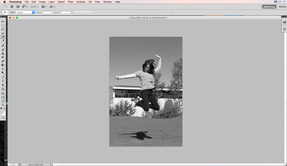
1.open your image in photoshop
|
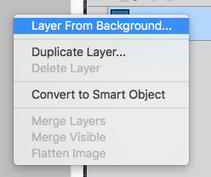
2.on the layers palette right click on the layer you will edit 3.convert to smart object
|
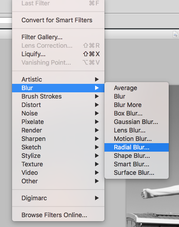
4.select filters from the menu blur then radial blur
|
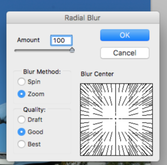
5. make the amount 100 and set the blur method to zoom and the quality good.You can move the blur centre around to get to the centre of your image.
|
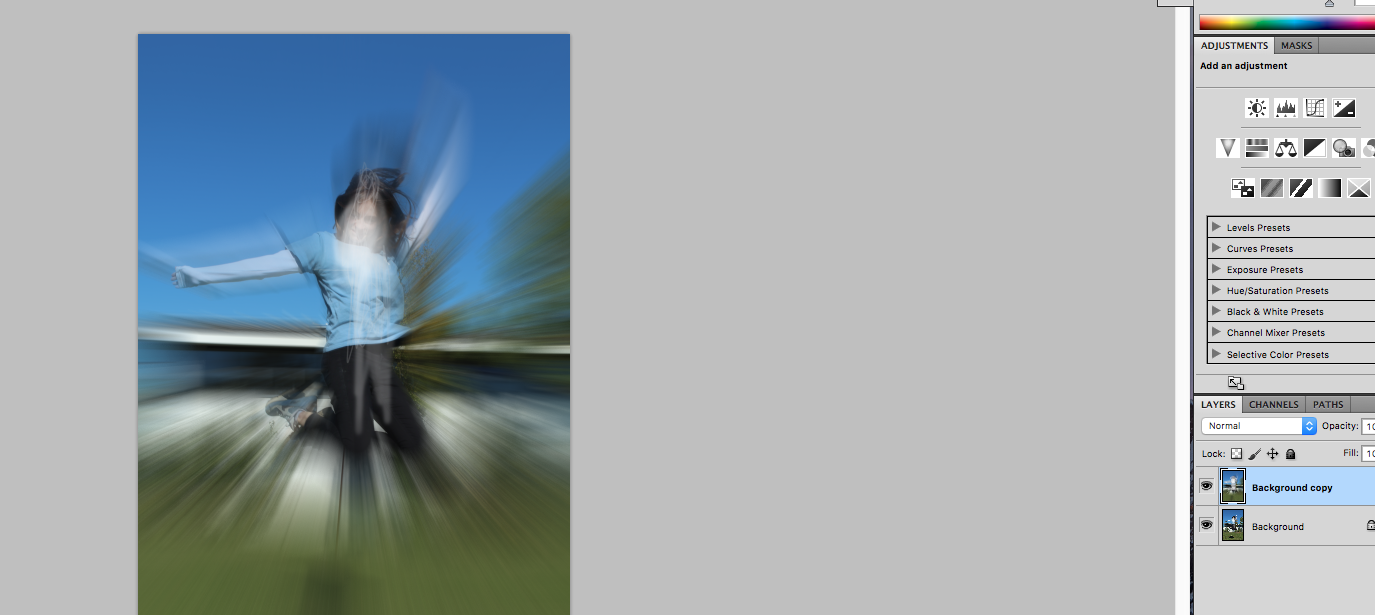
Then you need to use the brush tool or rubber tool to rub out the main focus of the image!
|
www: I successfully managed to take zoom blur images using my camera, by turning the lens but also using photoshop i edited my images so that they look blurred but also so that you can see the person in the image.
EBI : I should make the images that are taken on my camera normally more colourful, and for the for the edited images i
should use another model and use different locations.
EBI : I should make the images that are taken on my camera normally more colourful, and for the for the edited images i
should use another model and use different locations.
MOVEMENT OF A FIGURE
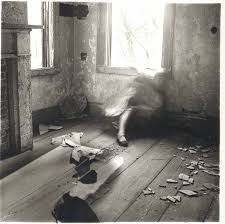
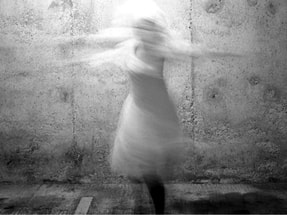
Francesca Woodman
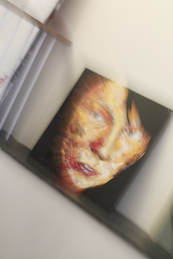
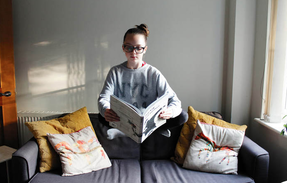
Francesca woodman is an american black and white photographer, famous for creating ghost like images. she creates images where the subject is blurred against a sharp background.She is the main subject in her photographs however she sometimes uses other female models that can vary between naked or clothed . She committed suicide when she was 27,one you find this out you realise that her work its incredibly emotive.
|

|
|
Initial Response
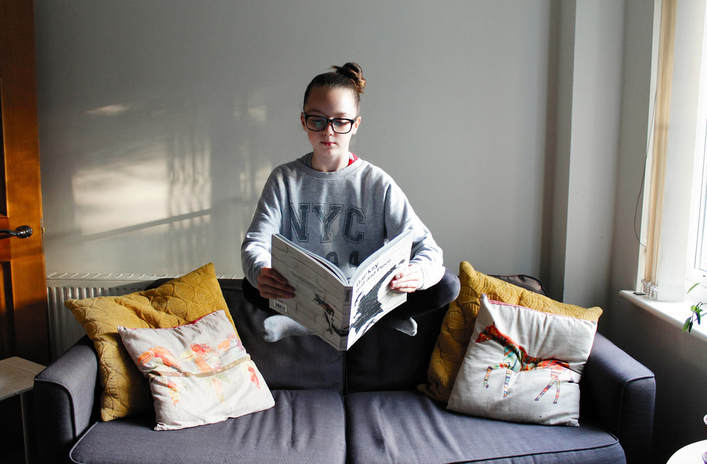
In this task I was required capture and image where the person who was the main focus of the image is blurred however the background is in focus.
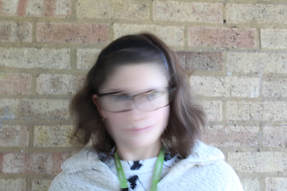
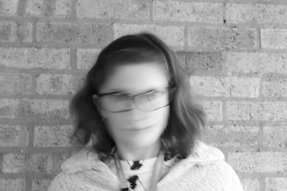
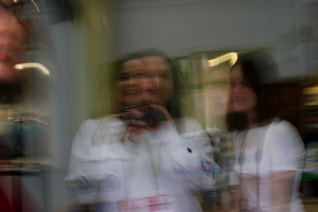
I edited these black and white images using photoshop to create a ghostly feel to the photo, here are some before(coloured images) and after (black and white) images I took!
|
|
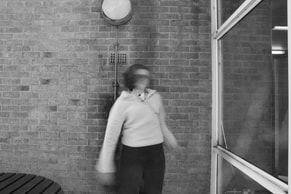
www: I managed to succeed in editing the pictures in photoshop and got a good blur to give the photo a gothic element.
EBI:try to capture the whole of the body blurred instead of only a small portion of it. |
1.
4.
|

2.
5.
|
3.

6.
|
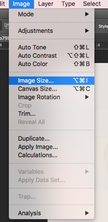
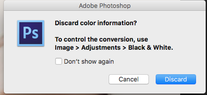
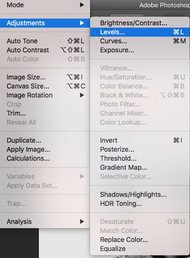
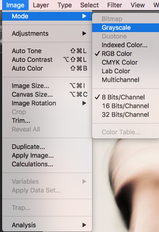
To create these images I opened up photoshop and using open then file and selected my image. Then I went to images and selected image size and set the resolution to 180, the height to 30 and width to 24. After this I selected image, mode and grayscale, it then came up with a little tab to which I clicked discard. This made the colour of the photo turn black and white. one again i went to image, adjustments and and levels which you could use to change the lightens or darkness of the image depending on how you wanted it however I left mine how it was. Finally I saved it to my desktop and then uploaded it to my weebly.
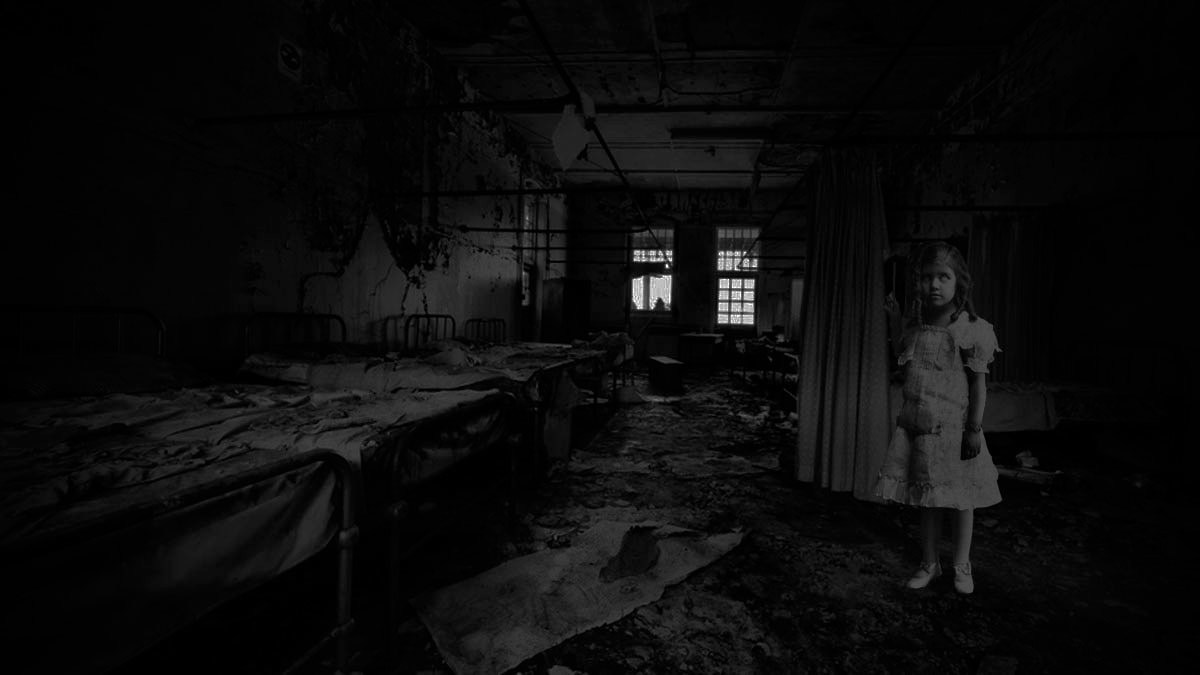
Ghost Image Extension
This is an image i created using photoshop. i wanted to create a creepy photo which featured an old abandoned hospital and a little victorian girl.
PORTRAIT DISORDER
Romain Laurent

|
|
|
These images are by an photographer called Romain Laurent, he is an artist that creates moving images called gifs.
Initial Response
In this task I was required to create my own gif following instructions with photoshop.
Moving Gif
In this task I was required to create a giff where the person/model is moving but the background isn't.
|

|
Second Response/Final Response
|
In this task I was required to create a gif where two people were moving but at different times and another gif where the persons face is blurred this links back to the topic of gifs.
www: I managed to successfully create a gif where the i took different shots of my model and edited them together on photoshop. EBI: For my final response i should of made a longer gif combining both of the 2 gifs above however, only with two models. |
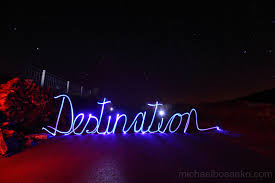
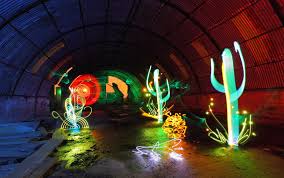
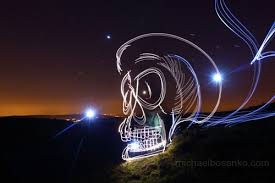
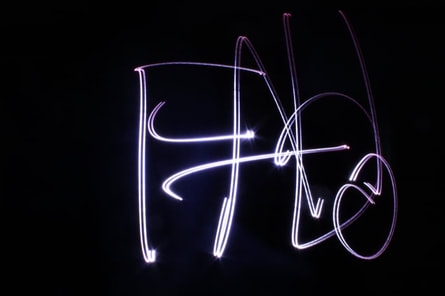
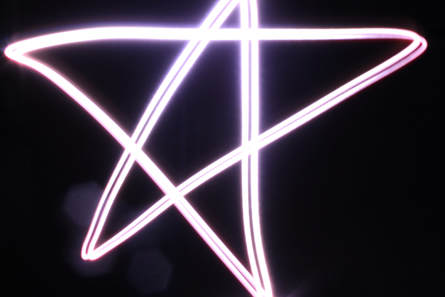
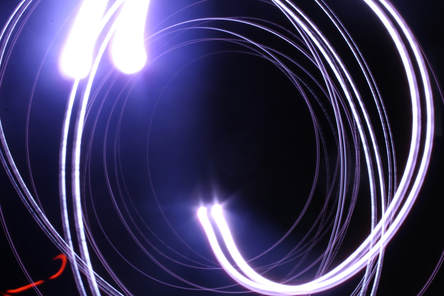
LIGHT PAINTING
Michael Bossanko
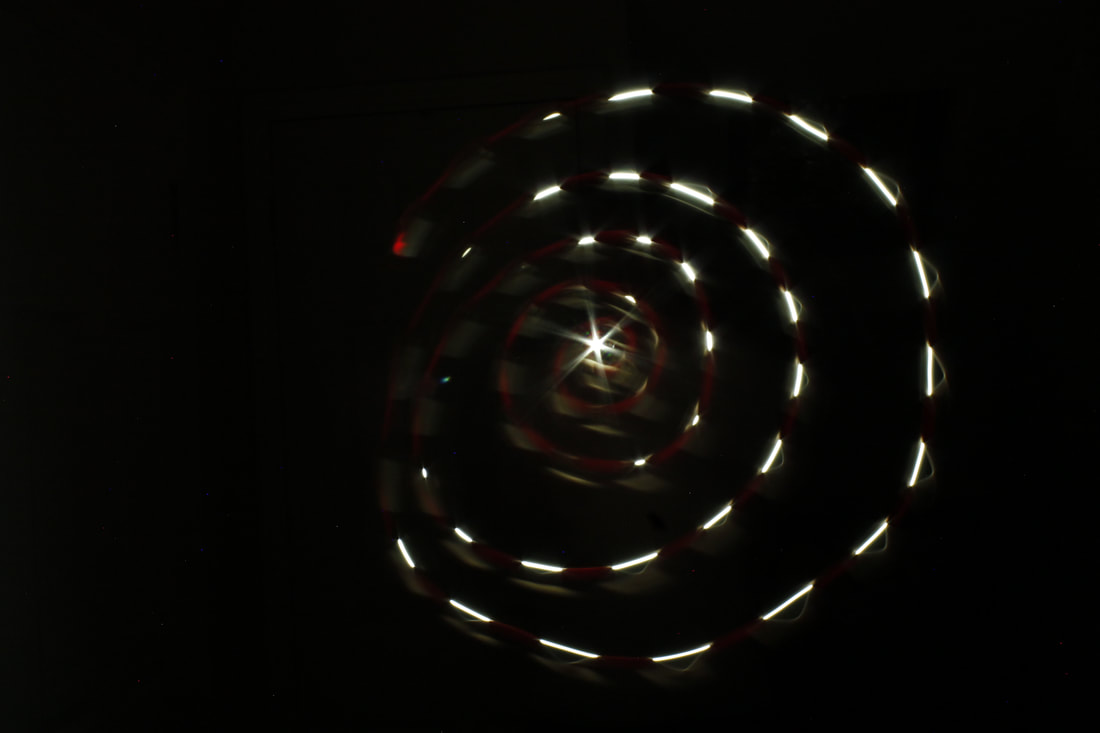
Light painting is a form of photography where using a tripod,a dark room and a camera you can created amazing images that stand out.It is a photographic technique of moving a light source while taking a long exposure photograph.It has been around for a long period of time and even dates back to the 1880's.
Here are the steps to create a light painting photograph:
step 1: You need to get a torch(either from home or you could buy one,you could even use your phone torch) A camera, and a tripod to keep your image from looking really blurred.
step 2:Find a room somewhere that you can turn out all the lights and make it extremely dark,then set up your camera on your tripod into a position that you are happy with.
step 3:Once happy with the positioning of your camera set it to manual, bulb and set your f-stop to 22. You also need to set your camera to manual focus and the ISO to 100 .This will make your light images look clear and give you a better result.
step 4:To take the picture you need to hold the the the shutter release, and finally get your model to experiment with your torch and there you have it.
|
|
|
in this section of movement our link artist is Michael Bossanko, here is some of his work.
Initial response
|
|
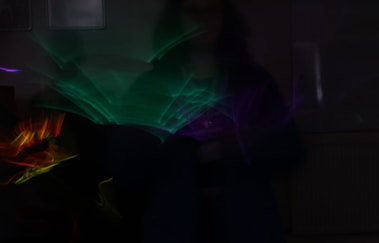
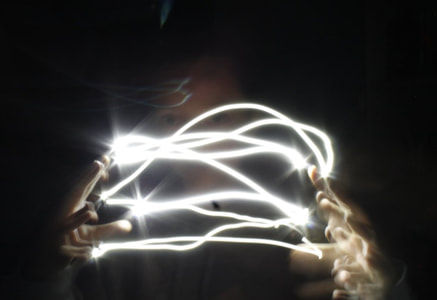
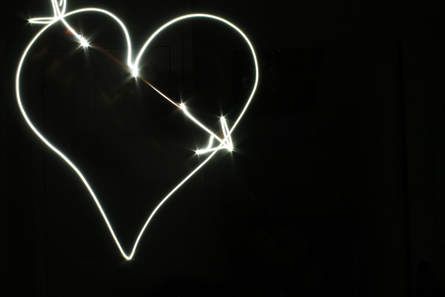
This is my first time creating a light painting using glow sticks in a dark room.
Second response
|
|
|
|
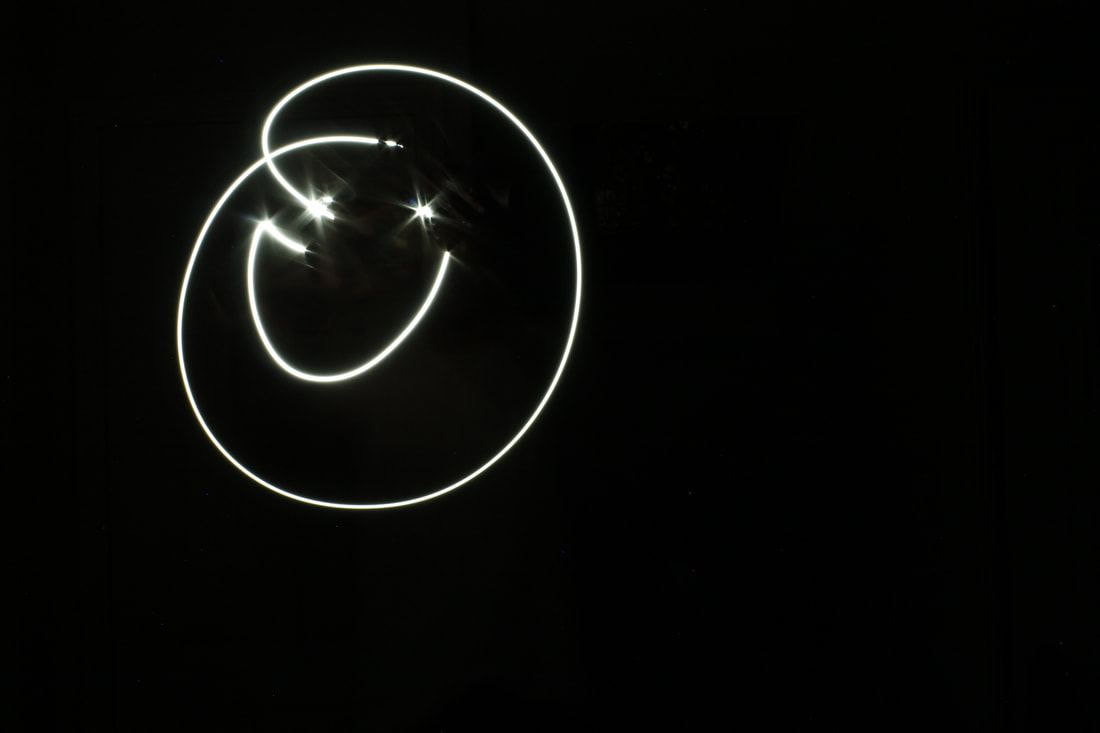
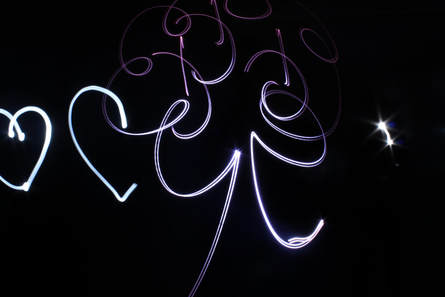
I think my second response is a lot better then my first. In a dark classroom i experimented with a torch and one glow stick to create the images below.I even added in a light painting gif.
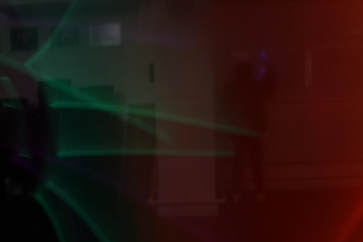
Final response
|
|
|
|
|
|
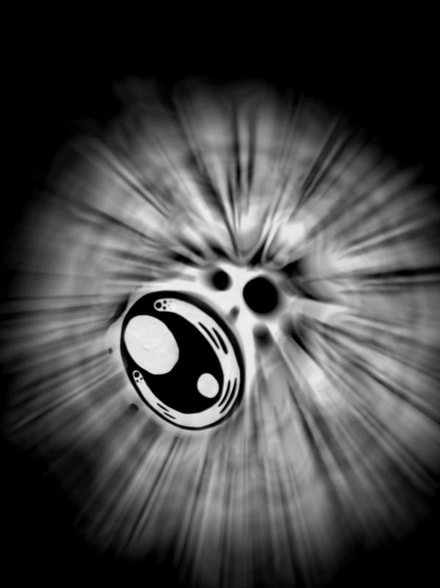
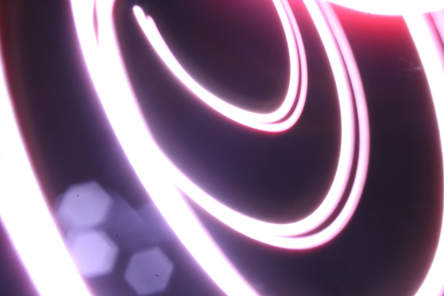
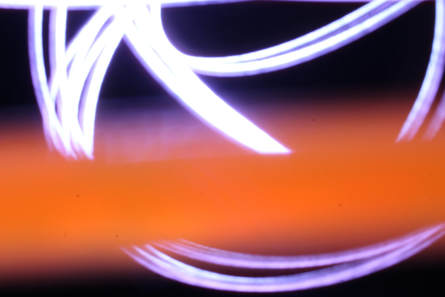
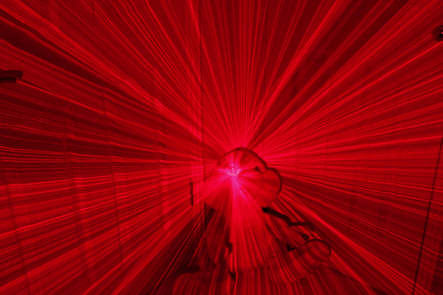
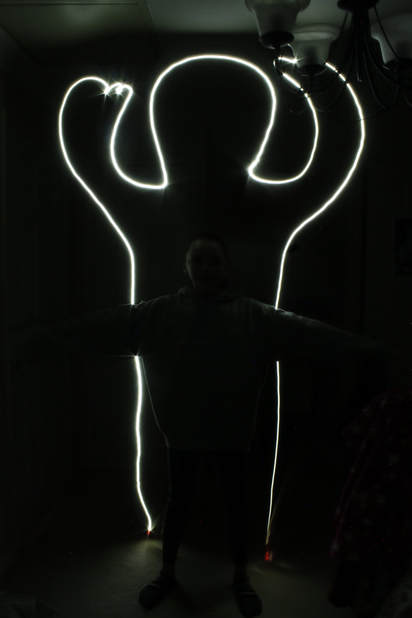
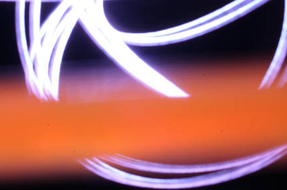
This is my final response to light painting,to do this i used my living room and turned out all the lights. I then used my torch to create a series of images. These are all the above.For one of them i used a laser to create a creepy effect where lots of light is coming out of a bunny's eye!
www:I experimented with light and managed to create some really interesting images, i think some of my favourite are included in my second and final response.
EBI:I should add more colour to my images or try to make them a little more interesting(maybe have more going on in some of the photos)They are a bit simplistic.
Final piece
|
|
|
|
|
|
I chose these images because I think they are the best one's from all across my movement page. I really like the variety of colours and angles used within them.
